How to get free ".COM.NP" in Nepal?

What you will need?
- A cover letter :Sample:
- A Valid Citizenship Certificate
Who is qualified?
- Any Nepali citizen
- Nepal Registered Companies/Organizations
Rules:
- Must match your name
- More than three words
- For Companies, must match their company name or abbreviations
- You cannot register random names
eg: If your name is “Ram Nepal”. Then, the domain name should be close to it.
eg: ramnepal.com.np or nepalram.com.np, etc
Mercantile Communications Pvt. Ltd holds rights to “.COM.NP”. They maintain computers which contain necessary data for ‘.com.np’ to work on the internet. So, you need to visit their site Nepal REGISTERY
Here’s step by step guide to get free “.COM.NP”.
Remember all the documents are manually reviewed so make sure to put on some work.
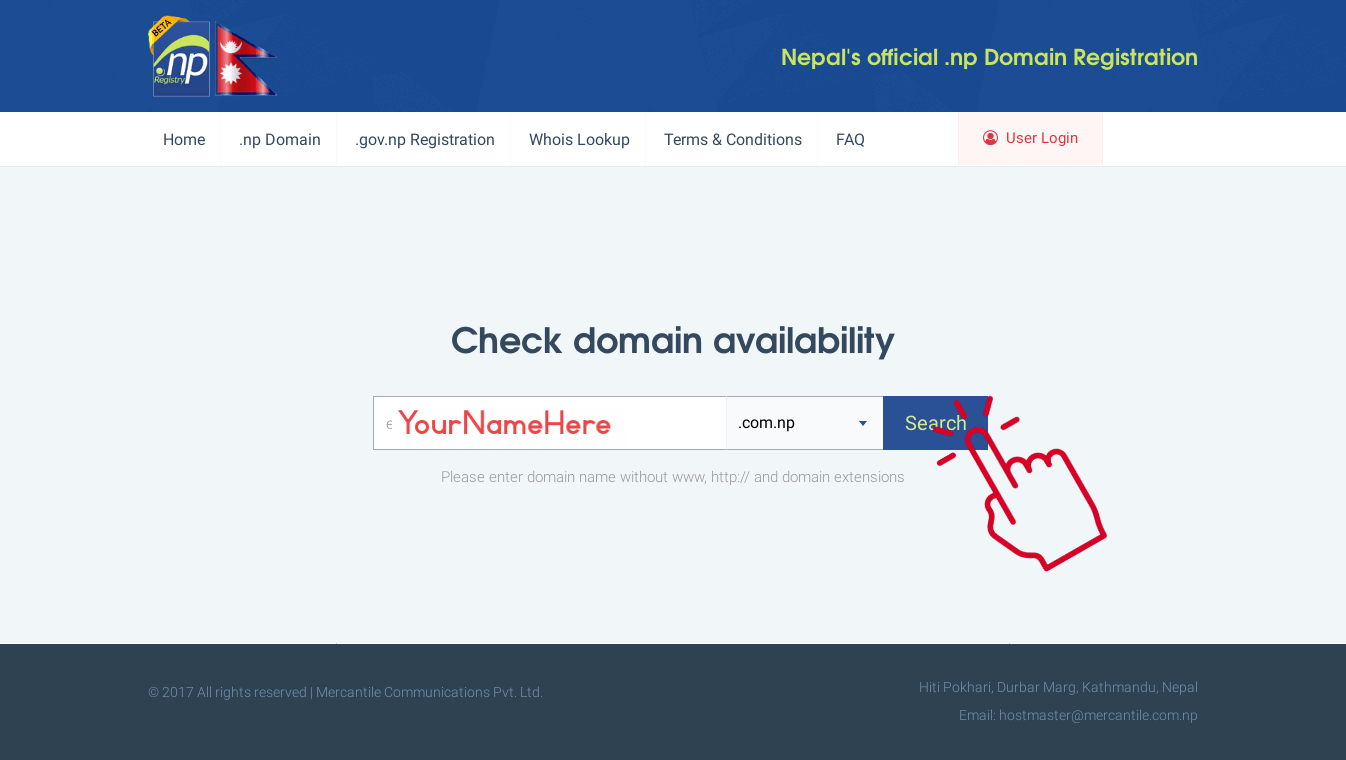
1. Visit OFFICIAL site. Enter your name or variation of it and search if it’s available.
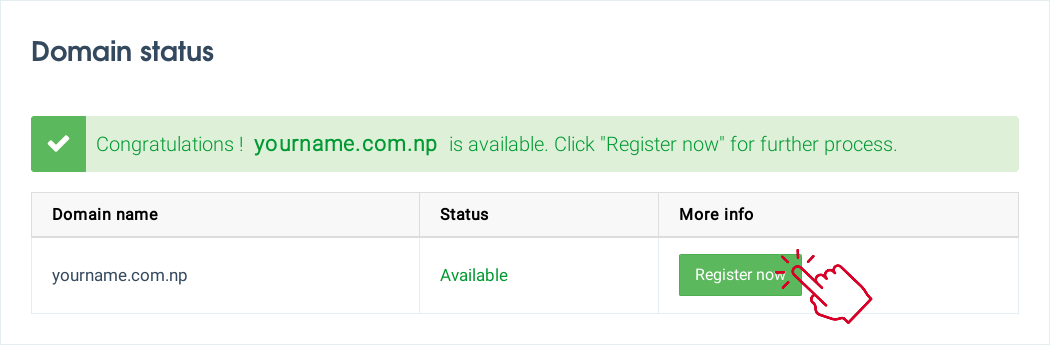
2. If it’s available click “Register now” button.
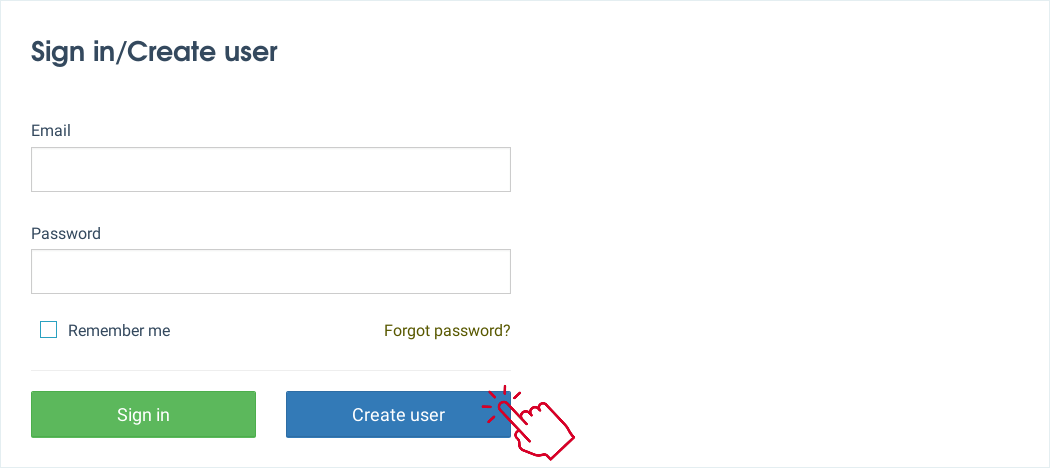
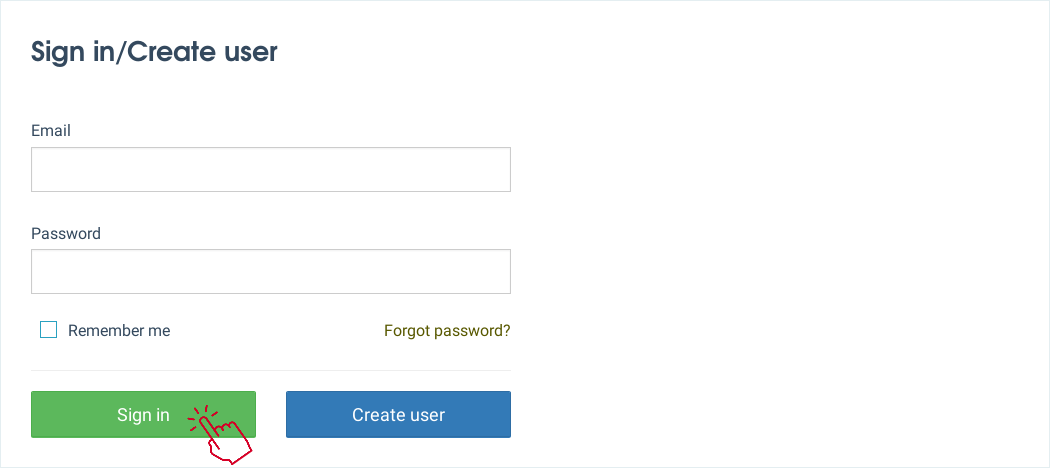
3. You will be redirected to “Sign in/Create user” page, Don’t enter anything, just Click “Create user” button.
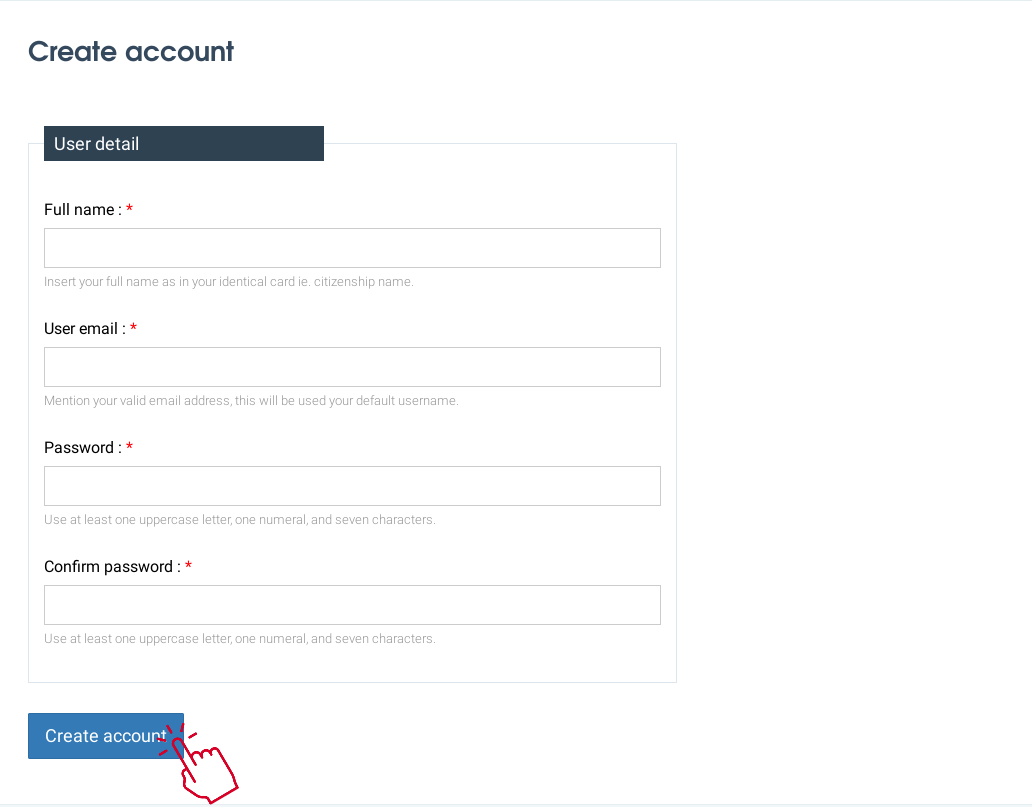
4. Fill the User detail form and click “Create account”.
You will get this dialogue.

5. After that open your email handler account, open the email from “register.com.np” and click the “Verify” button.

6. Sign in with your email and password.
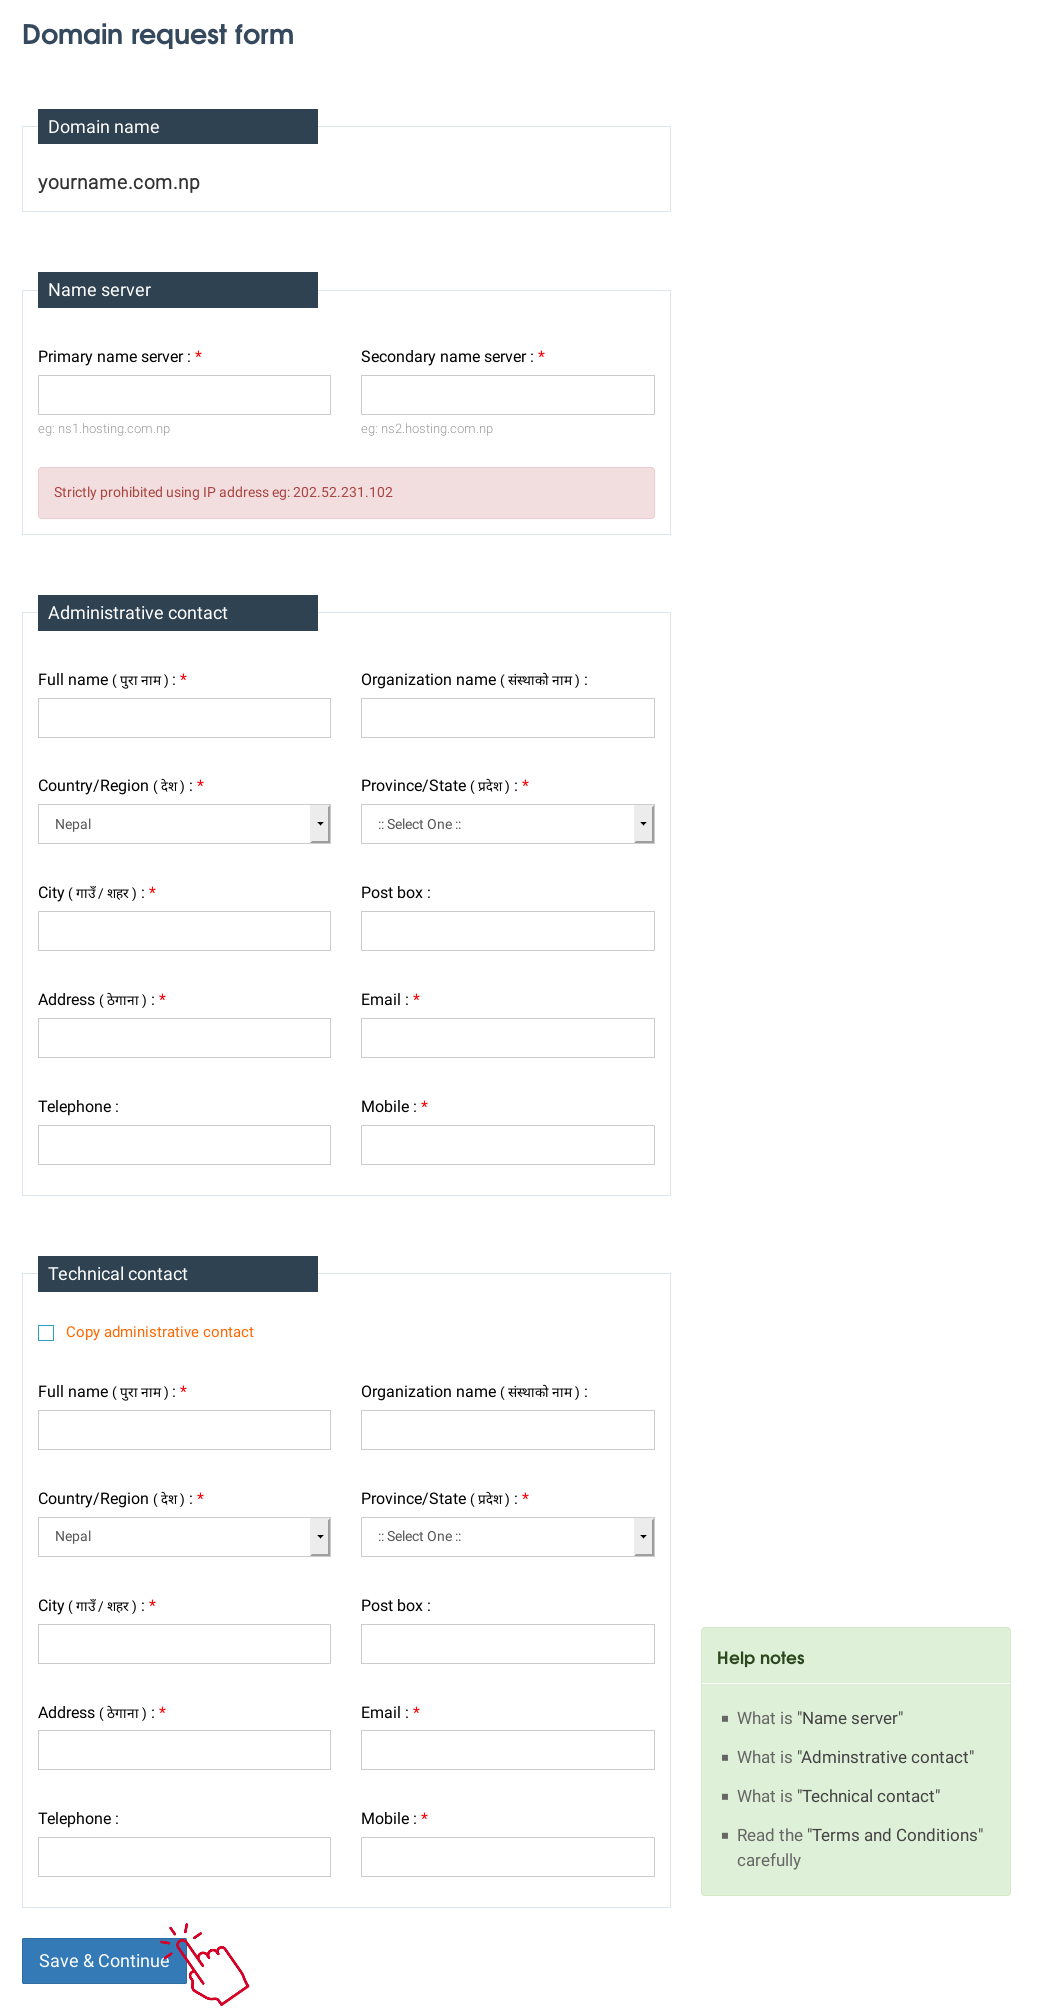
7. Fill up the “Domain request form”.
For “Primary Name Server” & “Secondary Name Server”
You can use your hosting company’s server if you have a hosting account OR temporarily enter NS1.FREEHOSTING.COM and NS2.FREEHOSTING.COM. You can change them later.
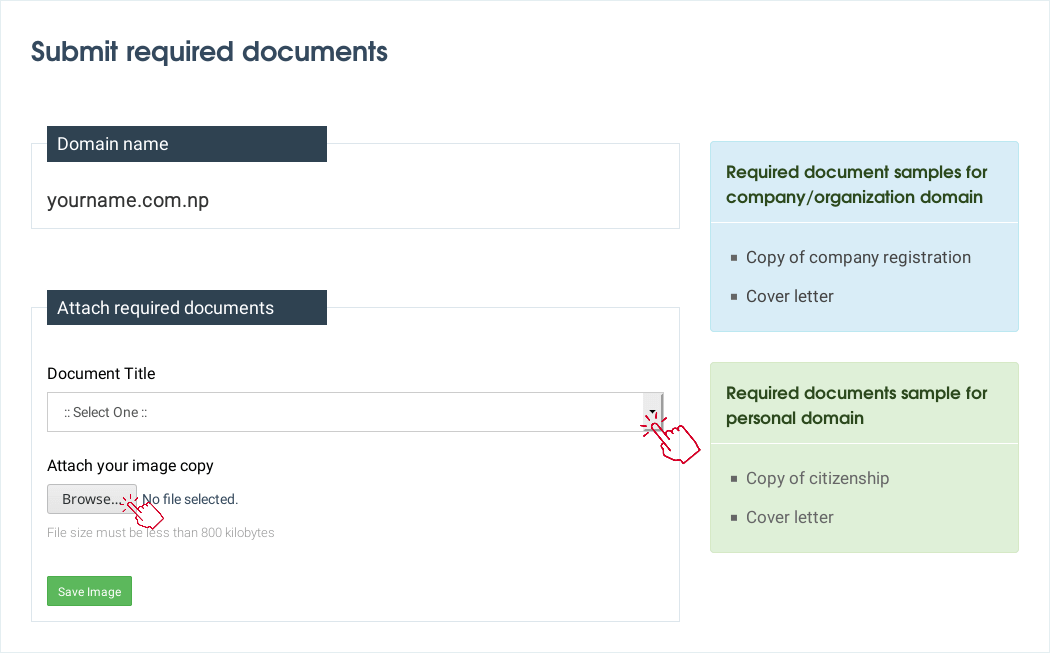
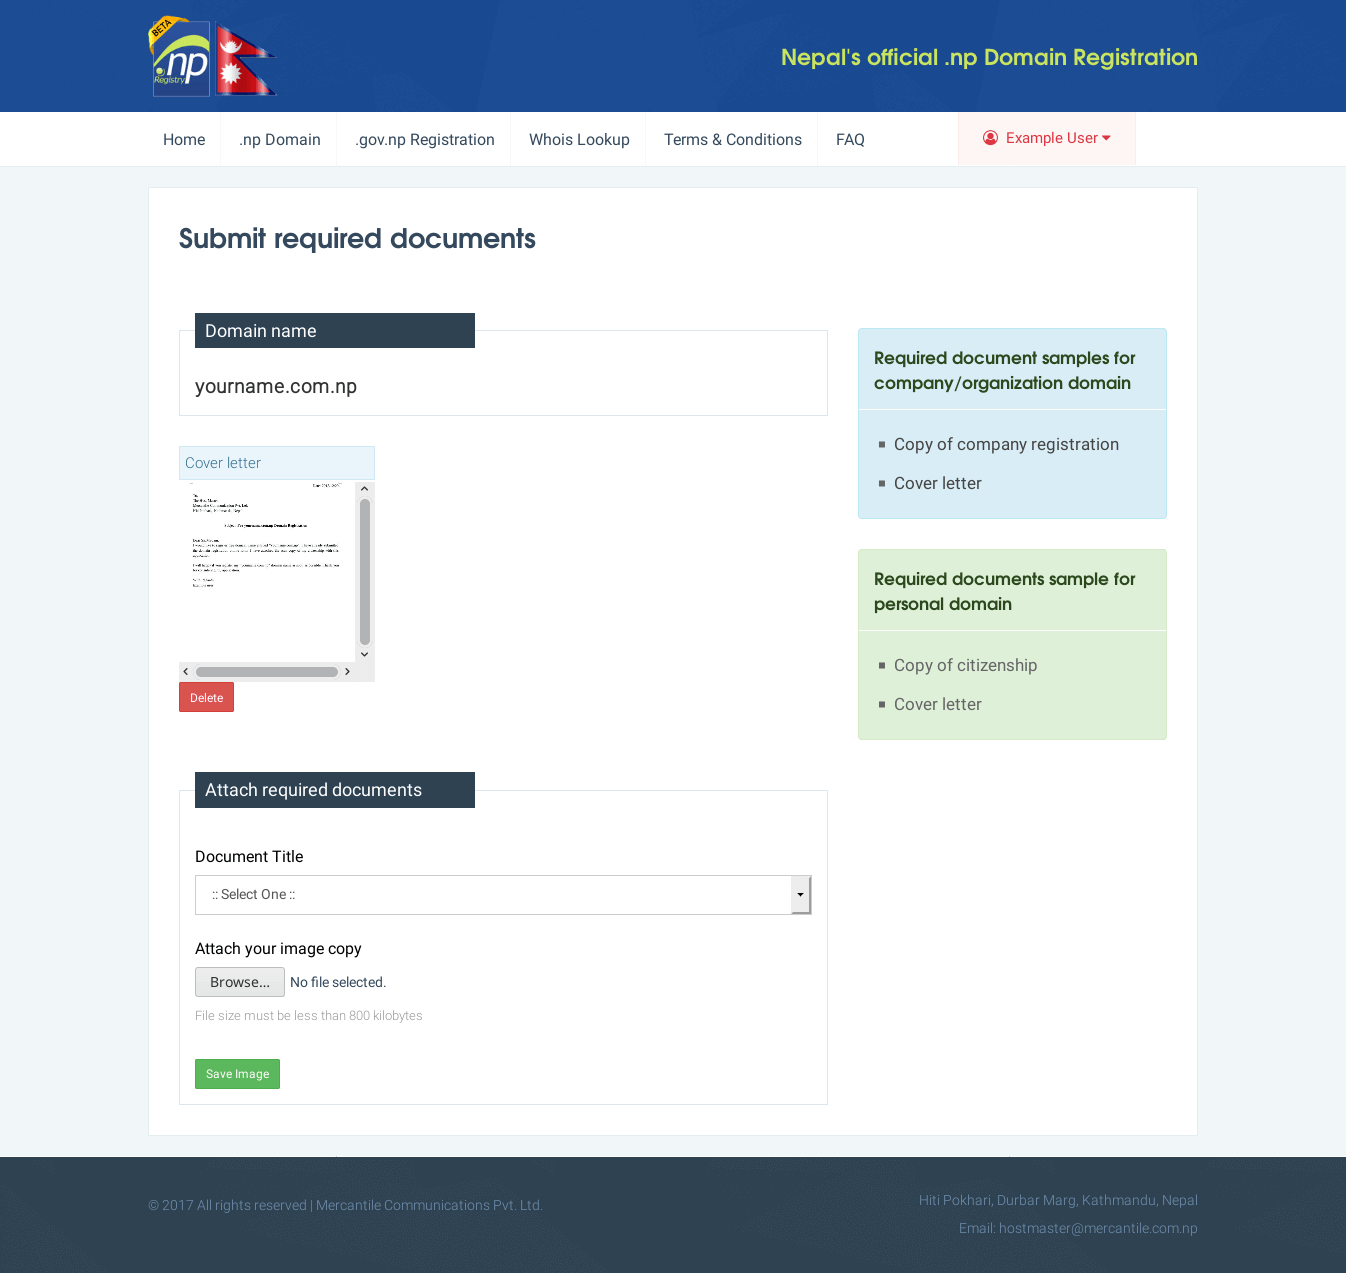
8. You need to submit documents after this. Download the sample and edit the form, take a screenshot. Upload it by clicking the “Browse…” button. (should be .jpg or .jpeg)
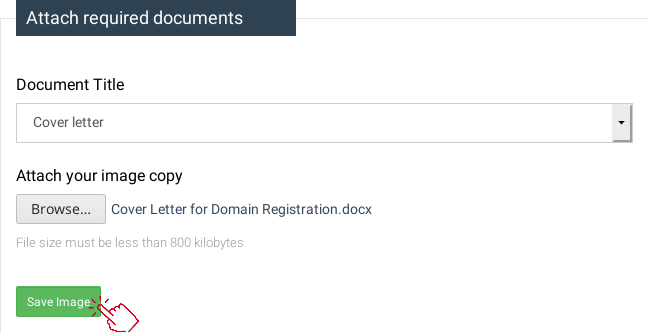
Successful upload.
9. Upload Citizenship certificate for Individual and Company certificate for Companies.

Successful upload.
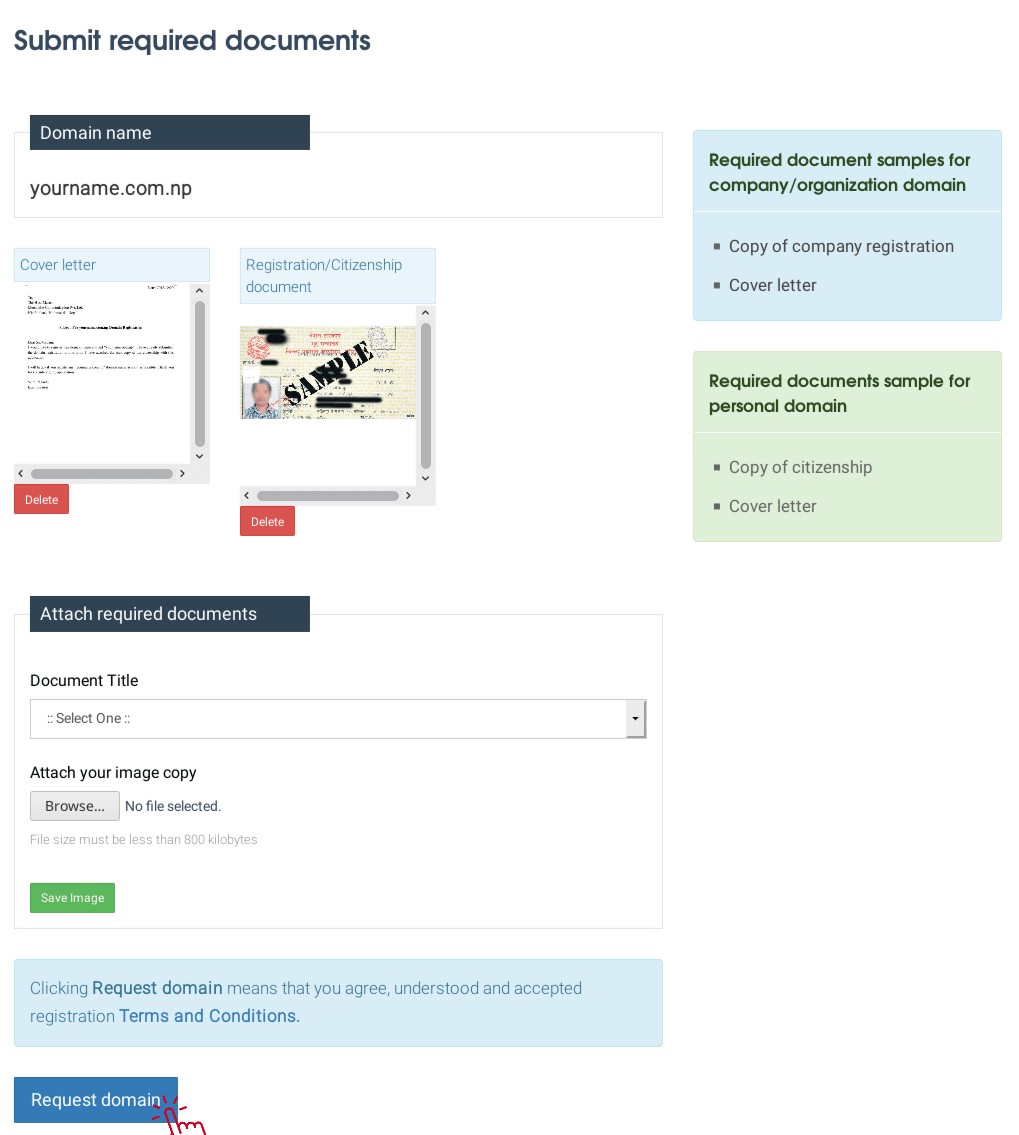
Done. Final result.
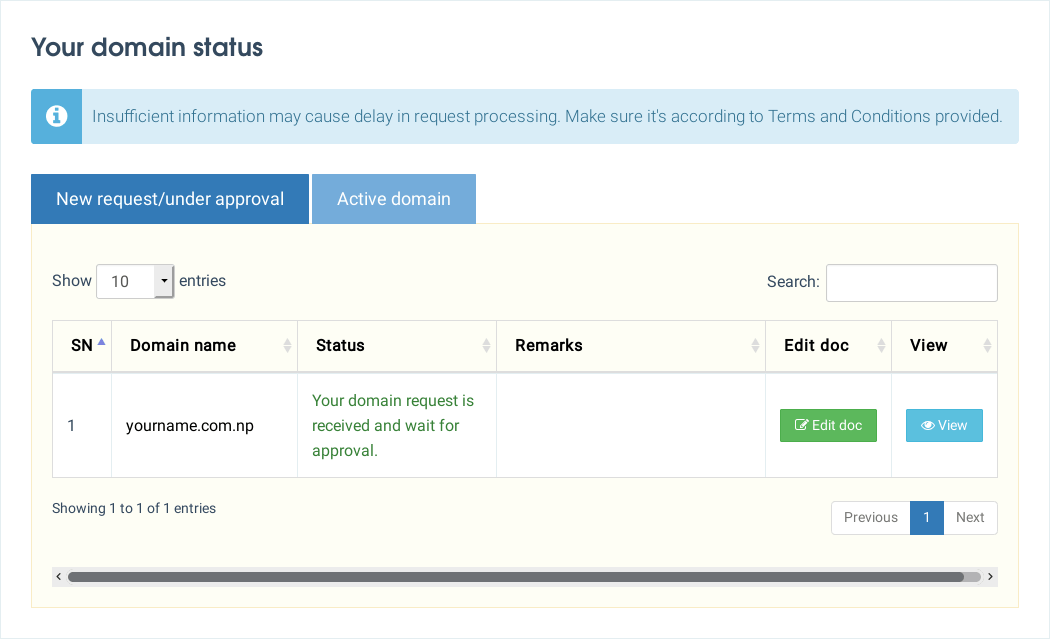
Because it is a manual process, wait for the activation. If rejected, you will get “rejected” under Status and reasons for the rejection under Remarks.
If successfully activated. Go to “Active domain” in the Dashboard.
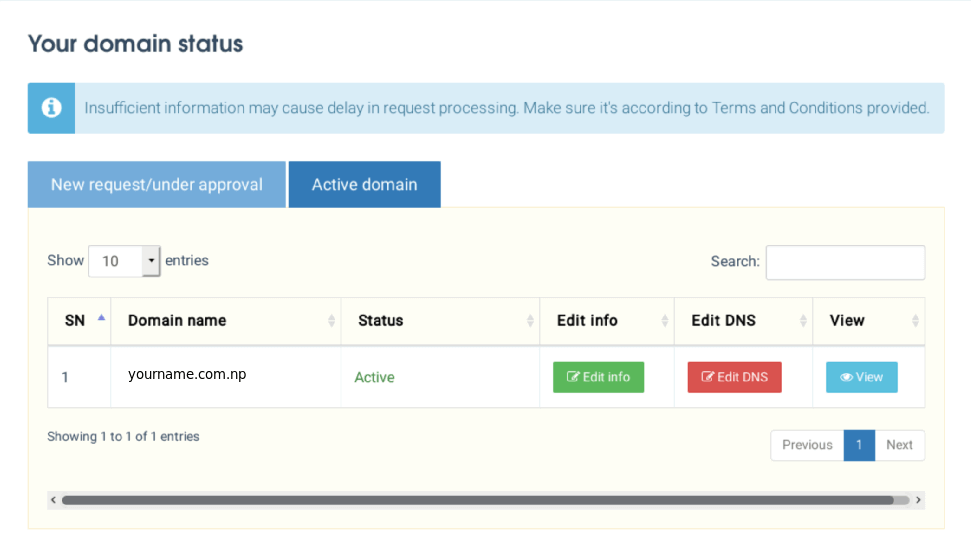
You will get confirmation within the next day (most of the time), if it’s not holiday. Also, editing the DNS is manual, so if you want to point your domain name to your hosting service - you need to get the DNS URL from your hosting service and go to your active domain, click “Edit DNS” button then put DNS information there. And you are done.
— Jun 19, 2020
Made with ❤ and at Earth.